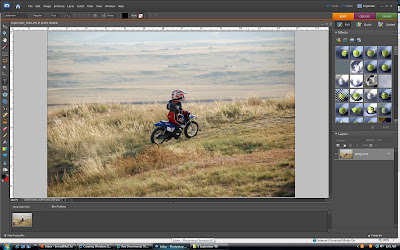
 First, open up the picture you would like to place a vignette around.
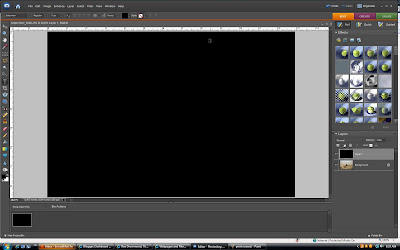
 Next, go to the layers pallete and open up a new layer. Press the letter D to set your foreground color to black. Now press Alt-Backspace to fill this layer with black.
 Next, press M to get your Rectangular Marque tool. Drag your selection out with the Marque tool. For this particular one I went about an inch in. Now you need to feather your selection. Go to Select > Feather and choose a Feather Radius of 80-100 or whatever you like. Your edges should now be softened. For this particular photo I used a feather of 150 so the results would show easily.
 Now just press Backspace to reveal your vignette. Then go to Opacity and lower the slider down until it reaches a look you are looking for. I realize this may look better on a portrait or another photo, I just wanted to show you this technique.
Alternatively, you could use the Oval Marque tool. Or, my favorite, use the Lasso Tool to freehand draw a more irregular pattern.
Rather than use black you could also set your background color to white or another color that compliments your work.
Just a few suggestions. Looking forward to what you create with the burned edge or vignette.
2 comments:
Great use of layers, very powerful sub-set of tools for working with images... Great Post to get us started!
This all looks like a great idea for all of you. What a great way to teach each other something new,,, nevermind that you lost me way back there!!!!
I will watch and look forward to what you all come up with, I am sure there will be some pretty exotic stuff come through!
lineman
Post a Comment